
Last updated September 22, 2026
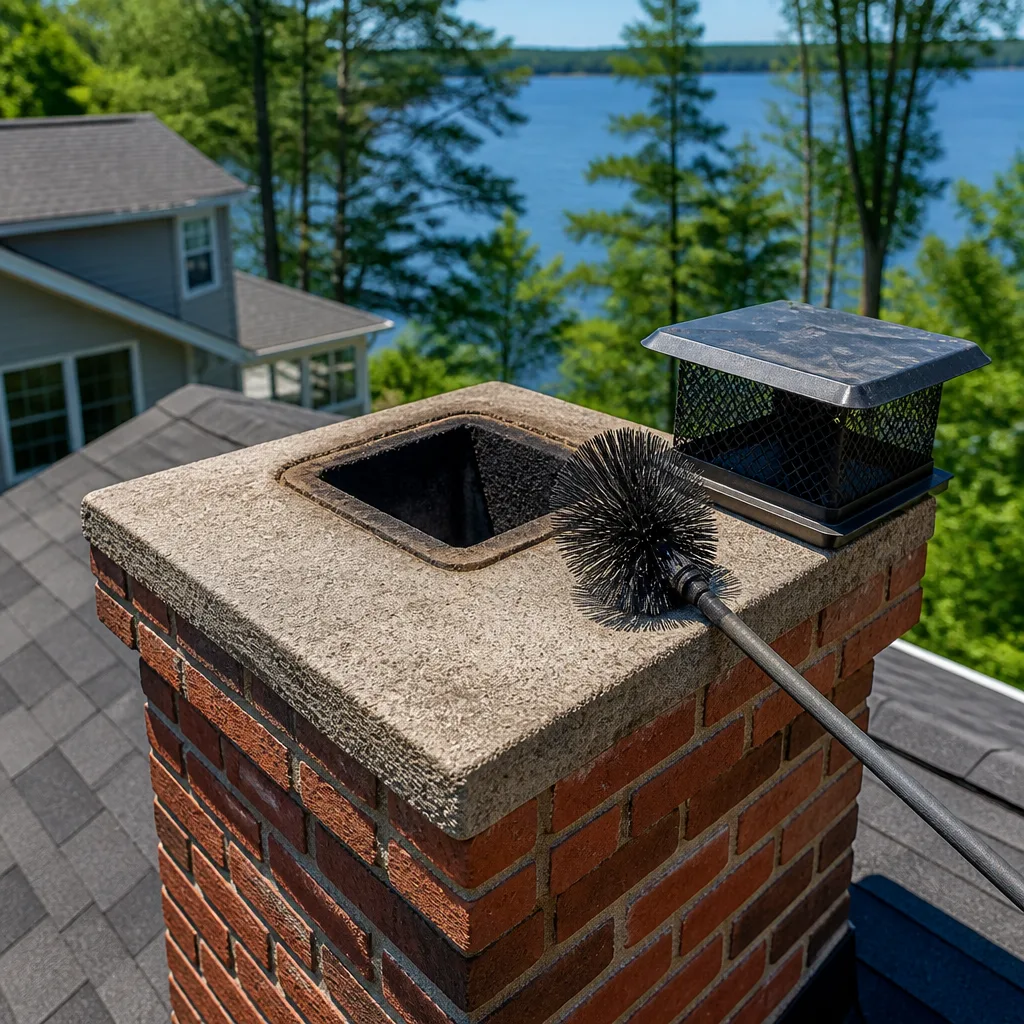
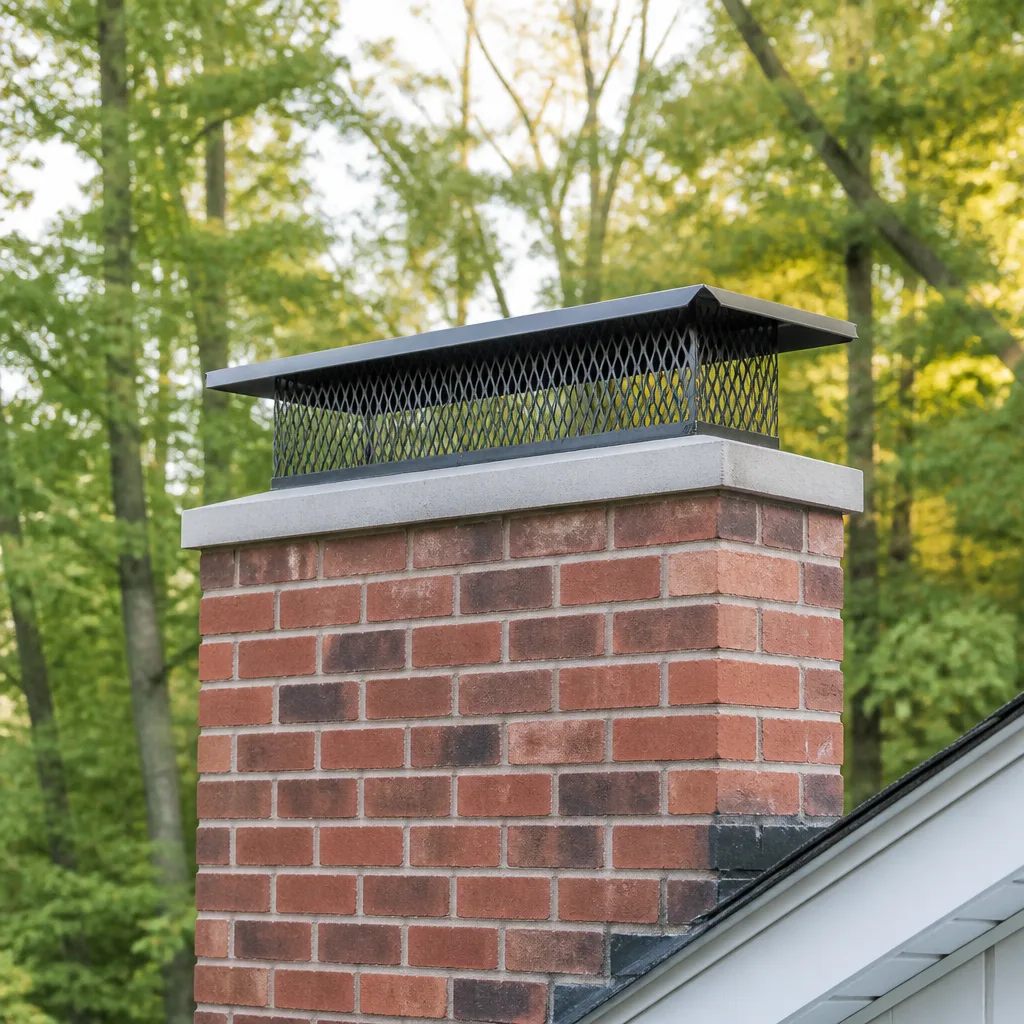
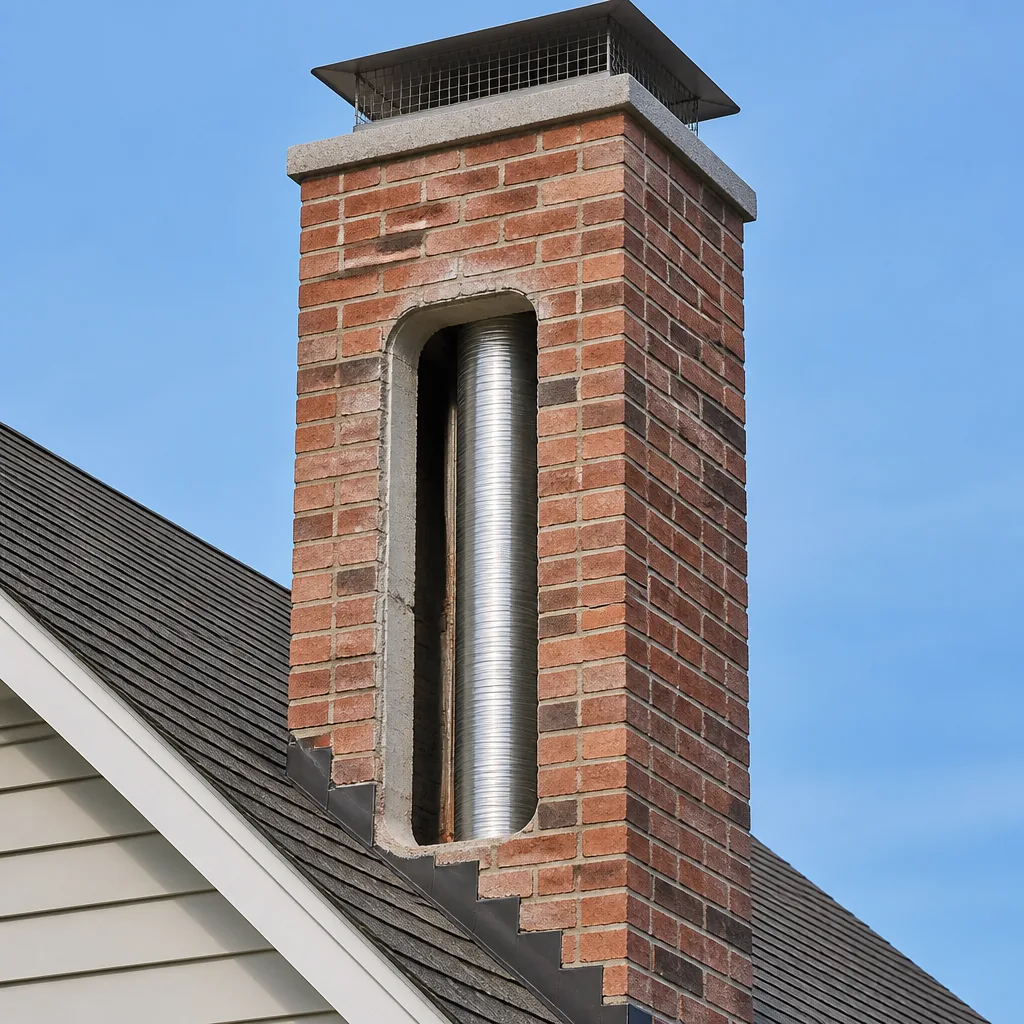
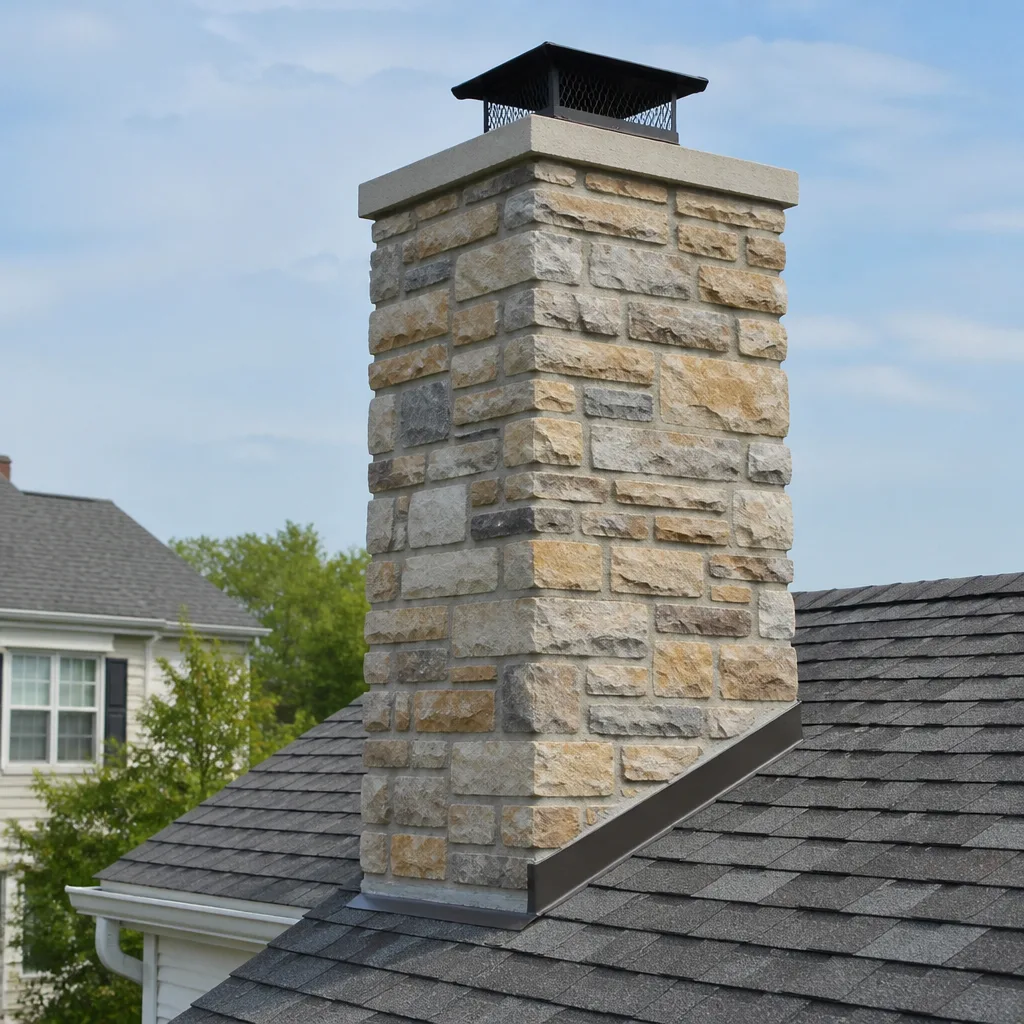
Level 1 sweep and inspection to the NFPA 211 annual standard - flue, crown, cap, and flashing checked and photographed
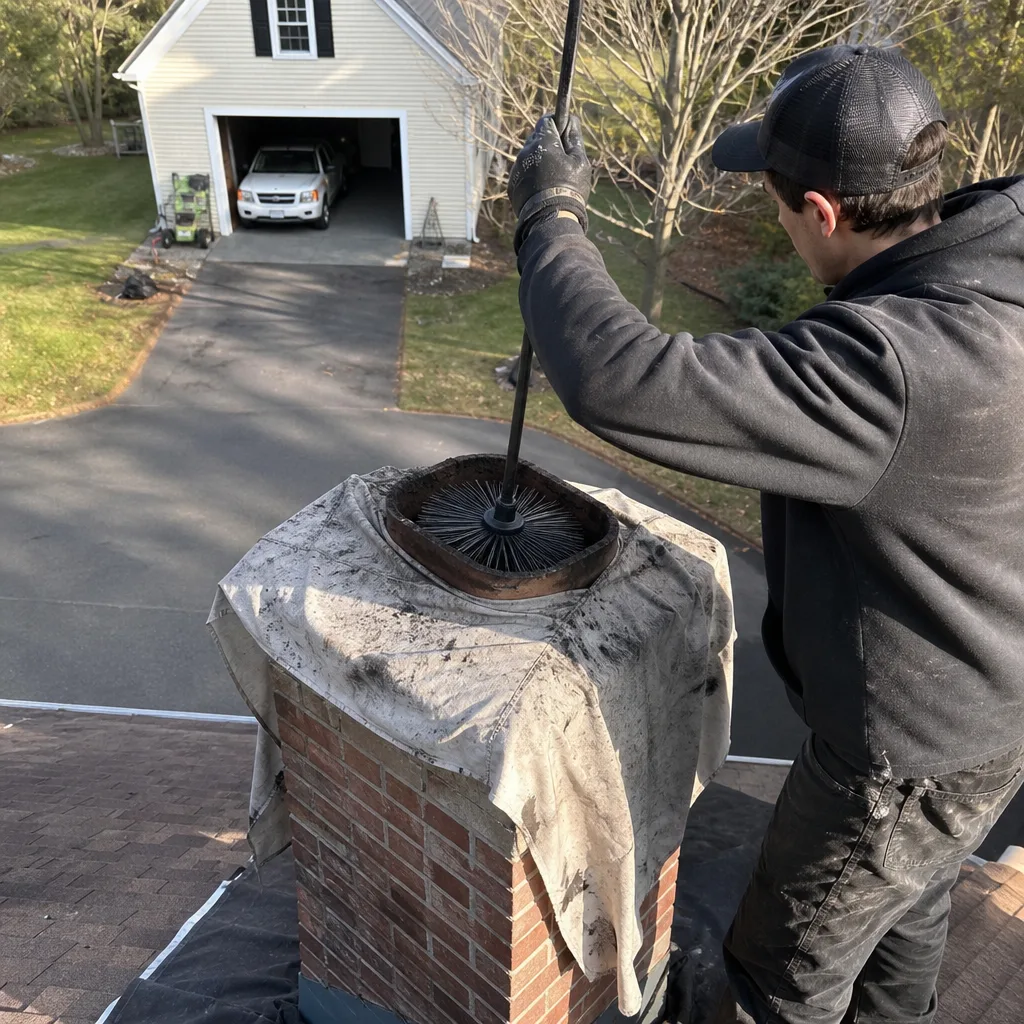
Chimney sweep logs do not sweep chimneys. They loosen some creosote - which then falls where a brush and vacuum still have to collect it.
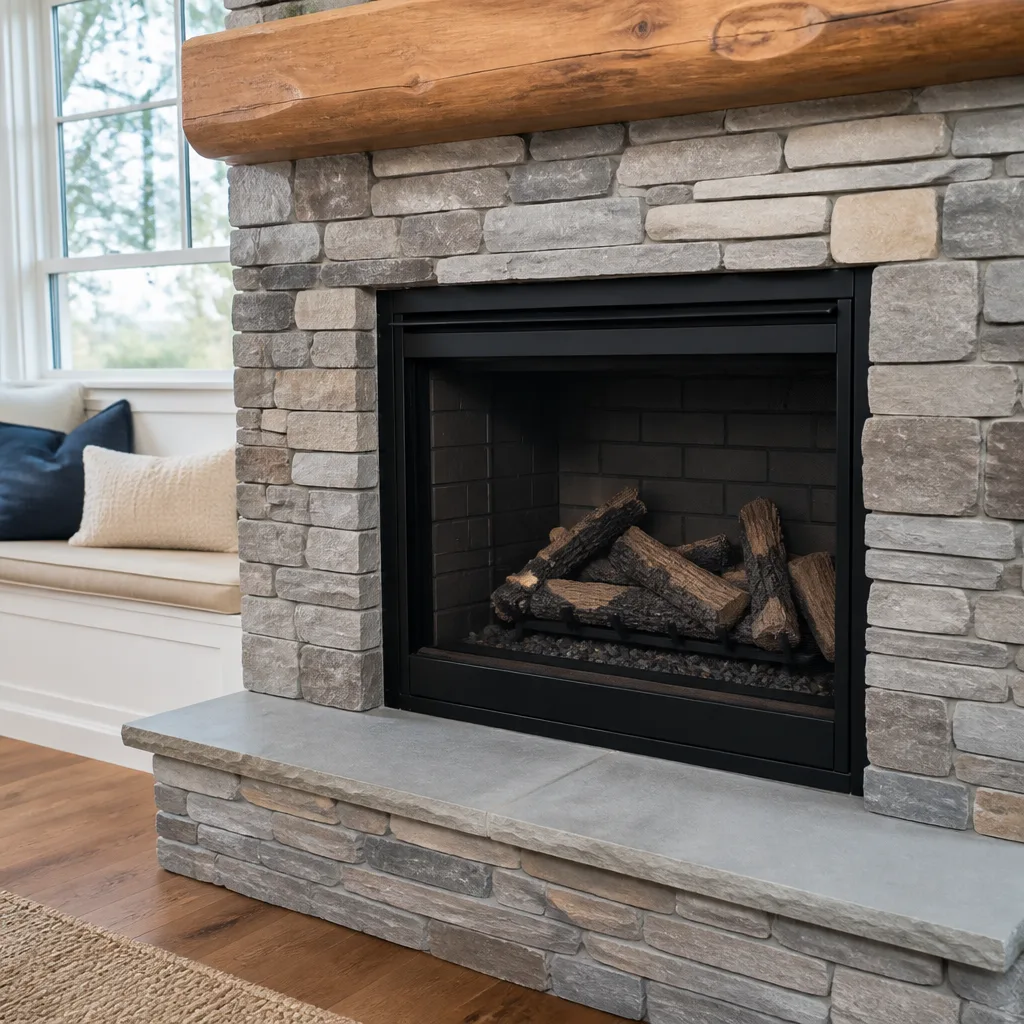
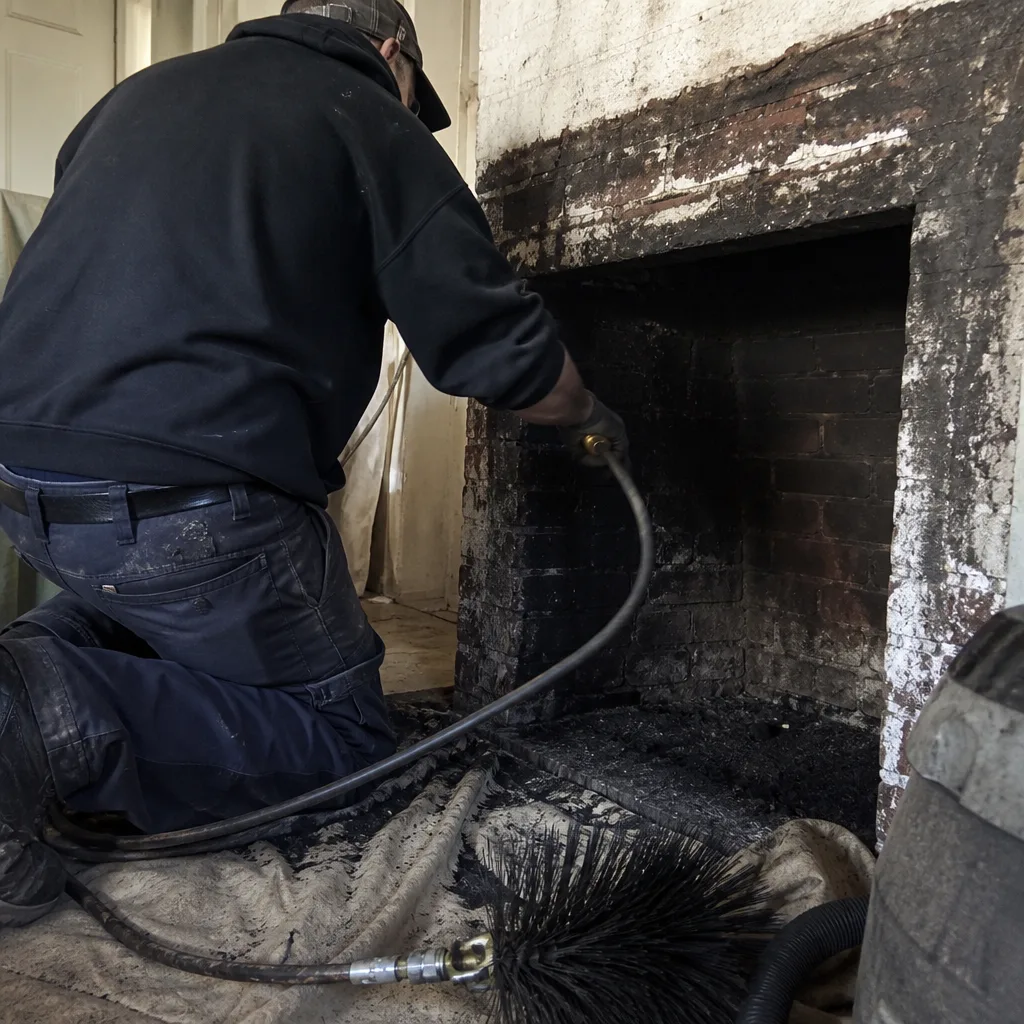 Before
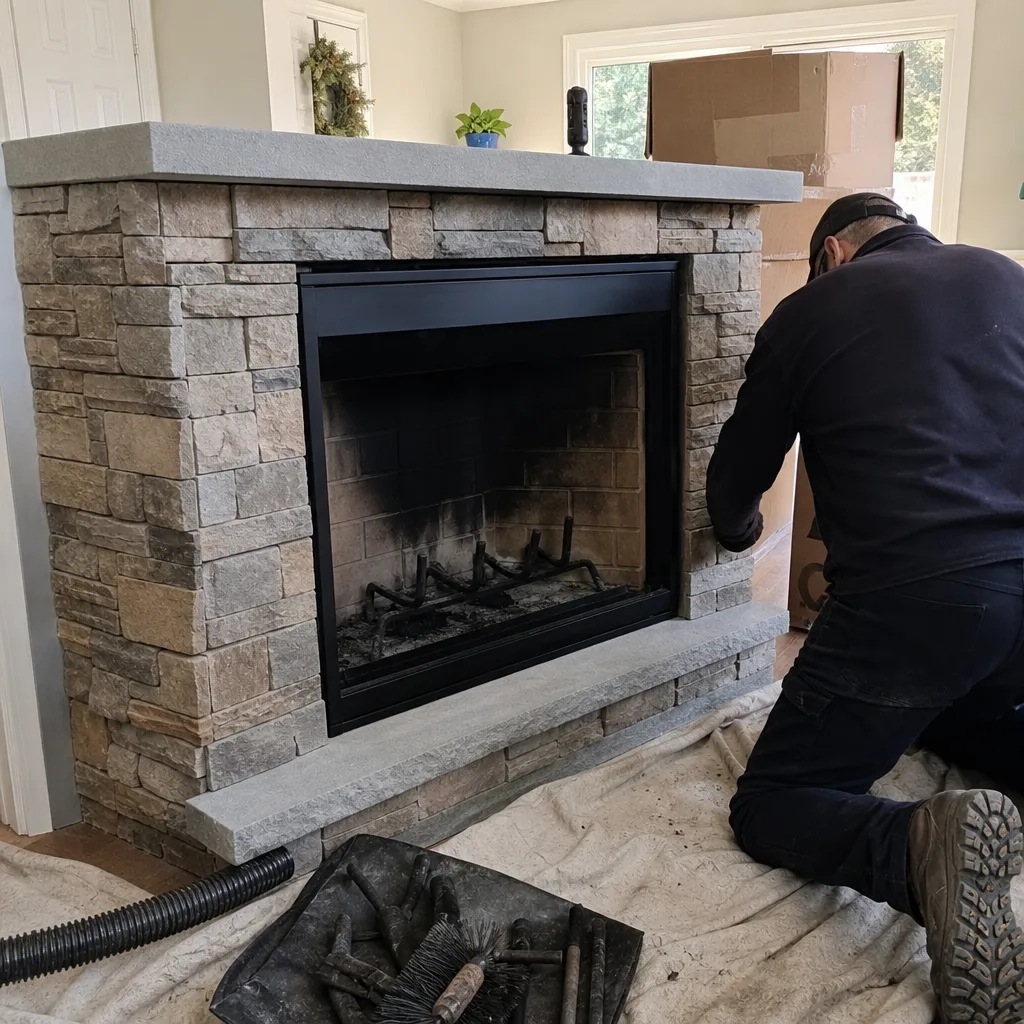 After
After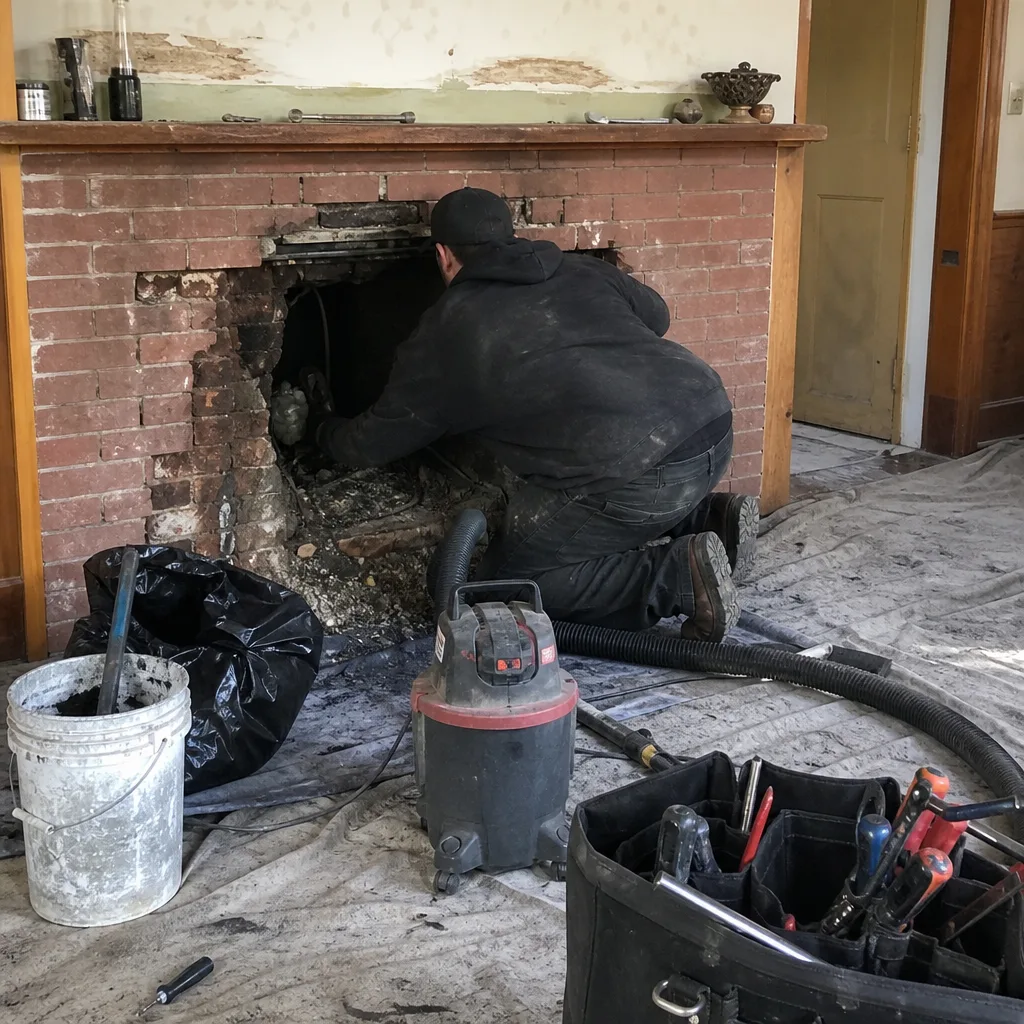 Before
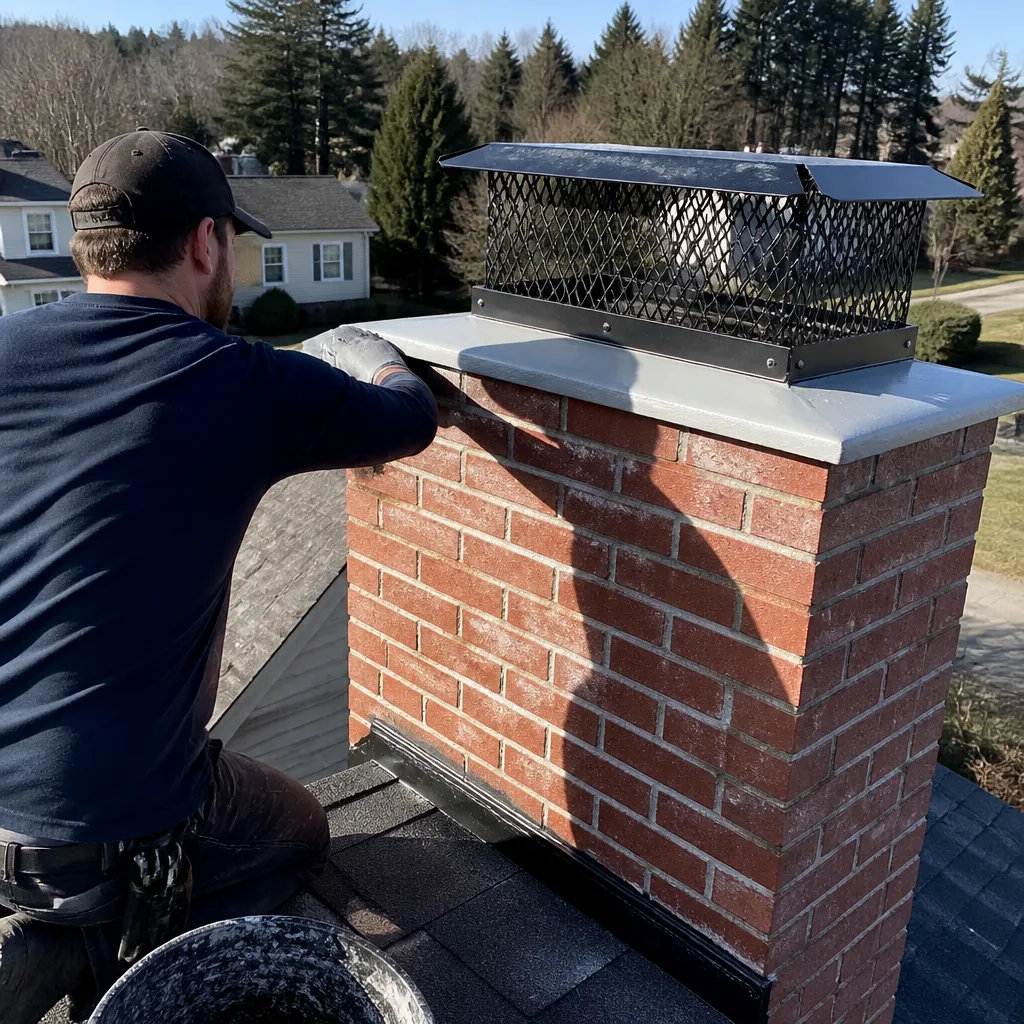 After
After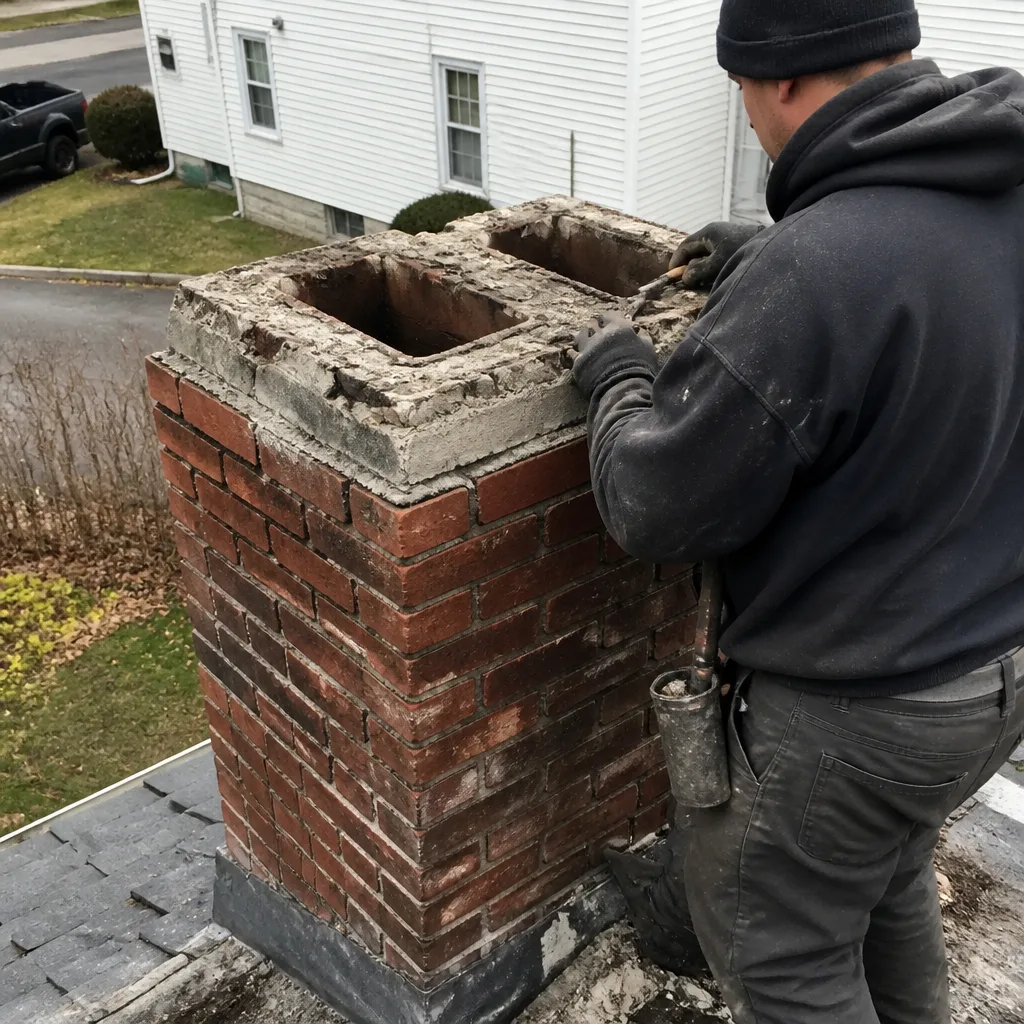 Before
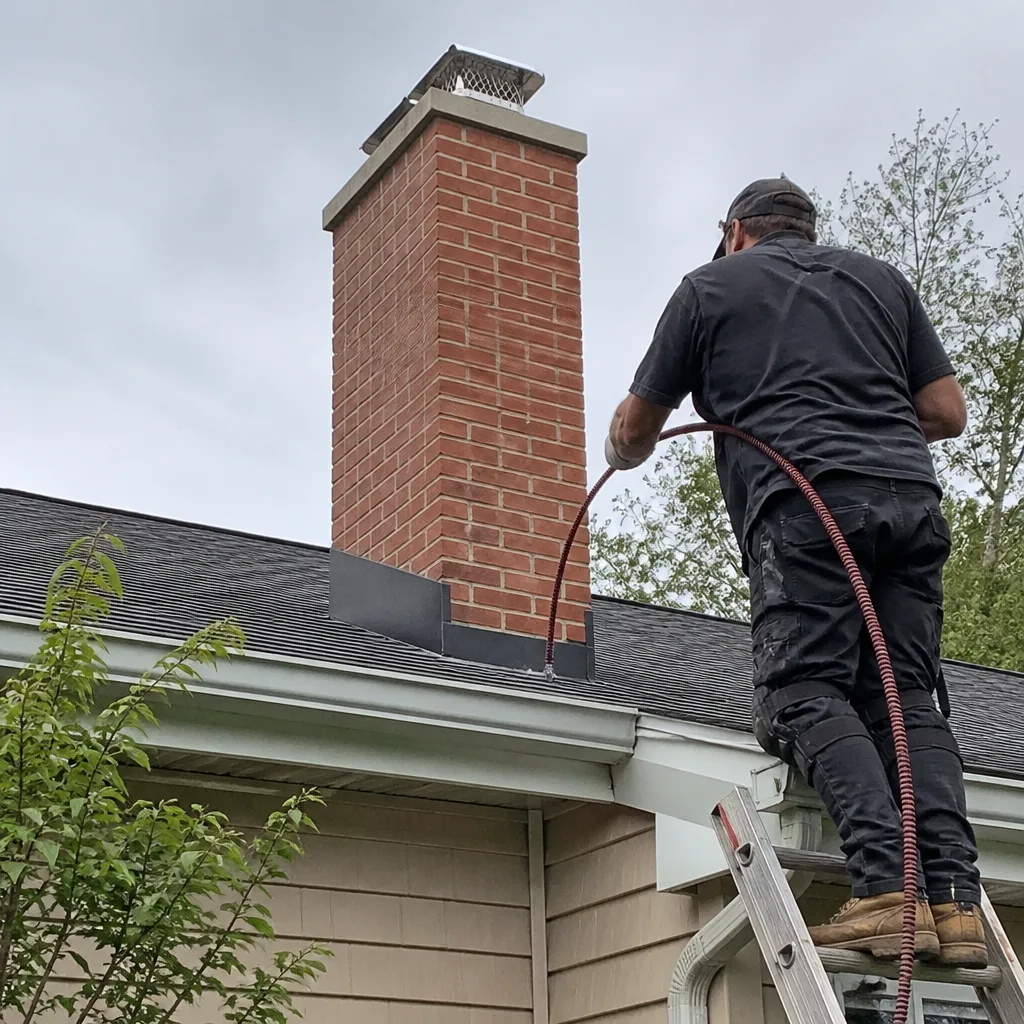 After
AfterChimney Cleaning & Sweep Maintenance Checklist for Worcester Homeowners
Most chimney maintenance checklists say “inspect for cracks.” That’s useless. A horizontal crack in a flue tile wider than 1/8 inch is an automatic NFPA 211 Level 2 inspection trigger. A hairline vertical crack under 1/16 inch in a crown is normal weathering. Worcester homeowners need thresholds, not vague prompts. Our Complete Guide to Chimney Cleaning in Worcester gives you measurable standards for every observable condition, season by season, plus the exact documentation you should hold after every professional visit. We’ve inspected over 38,000 chimneys since 2009, and the difference between a $200 sweep and a $4,000 liner replacement often comes down to catching the right number at the right time.
Quick Answer
Worcester homeowners should perform visual chimney checks three times yearly: before the first fall fire, after the last spring frost, and mid-July during peak humidity. Key thresholds include: creosote buildup over 1/8 inch, any horizontal flue crack wider than 1/8 inch, efflorescence covering more than 25% of the exterior masonry, and rust on more than 10% of the cap surface. Conditions exceeding these limits require a professional NFPA 211 Level 2 camera inspection before the next fire.
Table of Contents
- What Homeowners Can Safely Check from Inside the House
- What Requires a Professional Camera Scan to Assess
- Season-by-Season Maintenance Schedule for Worcester’s Climate
- Measurable Thresholds: Normal Wear vs. Service Call
- Red-Line Items: When to Stop Using the Fireplace Immediately
- Documentation Checklist: What to Hold After Every Service
- Common Mistakes to Avoid
- When to Call a Professional
- Frequently Asked Questions
 Before
 After
AfterWhat Homeowners Can Safely Check from Inside the House
You don’t need a ladder or special equipment to catch most chimney cleaning warning signs. What you need is a flashlight, a tape measure, and the discipline to look at the right intervals.
Firebox and Hearth Inspection
Check the firebox walls and floor for spalling - that’s when the brick or refractory panel surface flakes or pops off in chunks. A few small flakes under 1/4 inch across is normal thermal stress. If you can fit a quarter into the depression left behind, or if the panel is thinning to less than 3/4 inch at any point, that’s beyond cosmetic. In Worcester, we see accelerated spalling in homes built between 1890 and 1940 with original soft brick fireboxes, especially in neighborhoods like Vernon Hill and Grafton Hill where the clay content in local brick was particularly porous.
Look for mortar joints that have fallen out or turned to powder. You can test this with a flathead screwdriver: if you can dig out mortar to a depth of 1/2 inch or more with moderate pressure, the joint needs repointing before next season.
Damper Operation and Condition
Open and close the damper fully. It should move smoothly without grinding or catching. A damper that sticks in any position is a fire and carbon monoxide hazard - not a minor inconvenience. Check the damper plate itself for warping or rust-through. If light shows through gaps larger than 1/8 inch when the damper is closed, you’re losing heated air and creating a backdraft risk.
Smoke Chamber Visibility
Shine your flashlight up past the damper into the smoke chamber - the area above the firebox that funnels smoke into the flue. You’re looking for black, shiny buildup (that’s Stage 2 or 3 creosote, which we’ll detail below) and any exposed brick or mortar that looks eroded or missing. You can’t assess the smoke chamber fully from below, but you can spot conditions that warrant a camera look.
Interior Signs of Water Intrusion
Check the ceiling and walls adjacent to the chimney stack for water stains, peeling paint, or efflorescence - white, chalky mineral deposits that indicate moisture moving through masonry. A stain under 6 inches across that’s dry to the touch may be old damage. Active dripping, stains larger than a dinner plate, or any stain that grows between checks means water is finding a path now.
What you should NOT do from inside: Don’t poke at flue tiles with any tool, don’t attempt to measure creosote thickness by sticking anything up the flue, and don’t operate the fireplace if you smell gas or strong smoke odor when the damper is closed. These are professional-only assessments with specific safety protocols.
What Requires a Professional Camera Scan to Assess
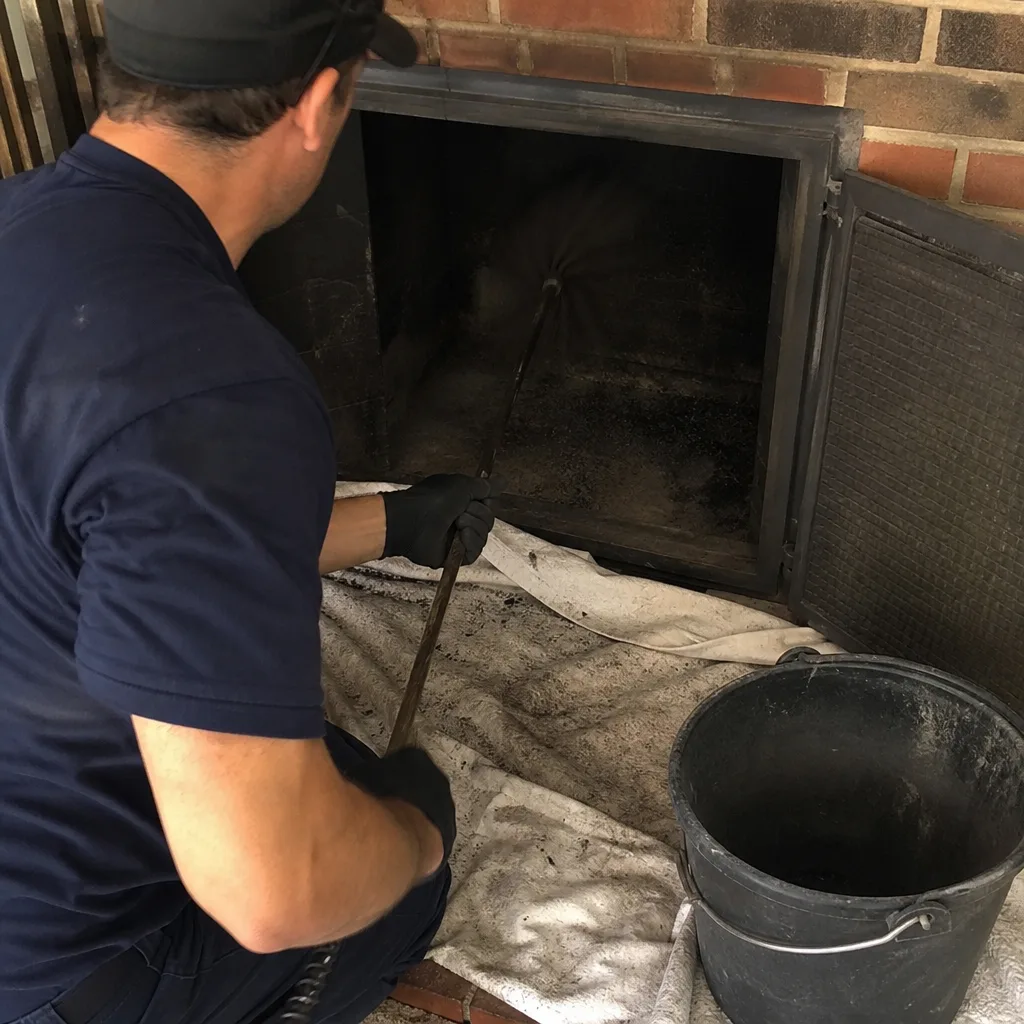
The NFPA 211 Level 2 inspection exists because some conditions are invisible to the homeowner and dangerous to guess at. At Level Two Chimney Worcester home, we’ve made camera-scan documentation standard on every visit since 2009 - years before insurers or regulators required it. Here’s what the camera reveals that your eyes cannot.
Flue Liner Condition
The flue liner is the critical barrier between combustion gases and your home’s structure. A clay tile liner with a hairline crack may look intact from below but show full separation when viewed from inside. The camera measures crack width precisely: horizontal cracks over 1/8 inch, any crack that offsets tile edges, or three or more cracked tiles in a single flue section are all liner replacement triggers under NFPA 211. Vertical hairline cracks under 1/16 inch without offset are typically monitored annually.
We regularly find deteriorated liners in Worcester’s triple-decker housing stock, particularly in Main South and Bell Hill, where original construction often used unlined brick chimneys later retrofitted with clay tiles that are now 60-80 years old. The camera doesn’t just find cracks - it documents their exact location and dimension for comparison year over year.
Creosote Classification and Distribution
Homeowners can see black buildup. Only a camera scan with proper lighting can distinguish Stage 1 (sooty, brushable), Stage 2 (shiny, hard, requires rotary tools), and Stage 3 (glazed, tar-like, often requires chemical treatment before removal). Stage 3 creosote ignites at lower temperatures and burns hotter - it’s the leading cause of chimney fires in Worcester County. The camera also shows whether buildup is uniform or concentrated in spots, which indicates drafting problems or liner damage that brushing alone won’t fix.
Smoke Chamber Parging
The smoke chamber should be smooth, with parge coating (a thin mortar layer) filling corbel steps. Rough, corbeled brick without parging creates turbulence that deposits creosote and restricts draft. This is invisible from the firebox opening but obvious on camera. In our experience, roughly 40% of Worcester chimneys built before 1970 have incomplete or deteriorated smoke chamber parging.
Hidden Obstructions and Animal Entry
Squirrels, raccoons, and chimney swifts are active throughout Worcester’s wooded neighborhoods - Burncoat, Tatnuck, and the hills around Indian Lake are particularly prone. A camera scan confirms nest location, debris volume, and whether the animal has damaged the liner. We’ve pulled full squirrel nests from flues that looked clear from below.
Haven Standard Clause 4 requires that every camera scan produce a documented photo record, archived and available to the homeowner. This isn’t an add-on - it’s the baseline.
Season-by-Season Maintenance Schedule for Worcester’s Climate
Worcester’s climate is harder on chimneys than Boston’s or Springfield’s. The 1,000-foot elevation brings colder overnight lows, more freeze-thaw cycles, and heavier snow load. The proximity to the Quabbin Reservoir watershed means higher humidity in summer, which drives efflorescence and spalling in porous brick. Here’s what to check and when.
September: Pre-Season Inspection (Before First Fire)
- Inspect the firebox for spalling, missing mortar, or new cracks since last season.
- Operate the damper through full range; note any sticking or grinding.
- Check the hearth extension for cracking or displacement - it must extend 16 inches in front of the opening and 8 inches to each side for standard fireplaces.
- Look up the flue with a flashlight for obstructions, nests, or significant buildup visible from below.
- Test smoke and CO detectors; replace batteries regardless of indicator status.
- Schedule professional sweep and NFPA 211 Level 2 inspection if it’s been more than 12 months since the last service, or if any visual check shows concerns.
Don’t wait until October to schedule Chimney Cleaning & Sweep services. Worcester’s first sustained cold snap often hits in late September, and sweep schedules fill by mid-month. We’ve seen homeowners try to “just burn once” while waiting for an appointment - that’s when preventable chimney fires happen.
March-April: Post-Season Assessment (After Last Frost)
- Inspect exterior masonry for new cracks, spalling, or efflorescence that appeared over winter.
- Check the chimney cap and crown for damage from ice load or wind - Worcester’s winter storms are particularly hard on sheet metal caps.
- Look for water stains on interior walls or ceiling that may indicate crown or flashing failure.
- Document the heating season’s performance: any smoke spillage, unusual odors, or difficulty starting drafts.
- Schedule repairs identified in fall inspection but deferred until spring - crown sealing, repointing, and cap replacement are best done in moderate temperatures.
July: Mid-Summer Humidity Check
This is the check most homeowners skip, and it’s the one that catches problems before they become emergencies. Worcester’s July humidity averages 70% - moisture is actively moving through porous masonry.
- Inspect exterior for efflorescence growth since spring - white deposits that weren’t there in April indicate active water intrusion.
- Check for vegetation growth in mortar joints or crown cracks - roots accelerate deterioration.
- Verify cap and spark arrestor are intact before summer storm season.
- Smell test at the firebox: musty or ammonia odors indicate animal entry or standing water.
Mid-summer is also the ideal time to schedule fall maintenance and review our more guides & resources. You’ll get preferred scheduling and any needed repairs completed before burning season.
Measurable Thresholds: Normal Wear vs. Service Call
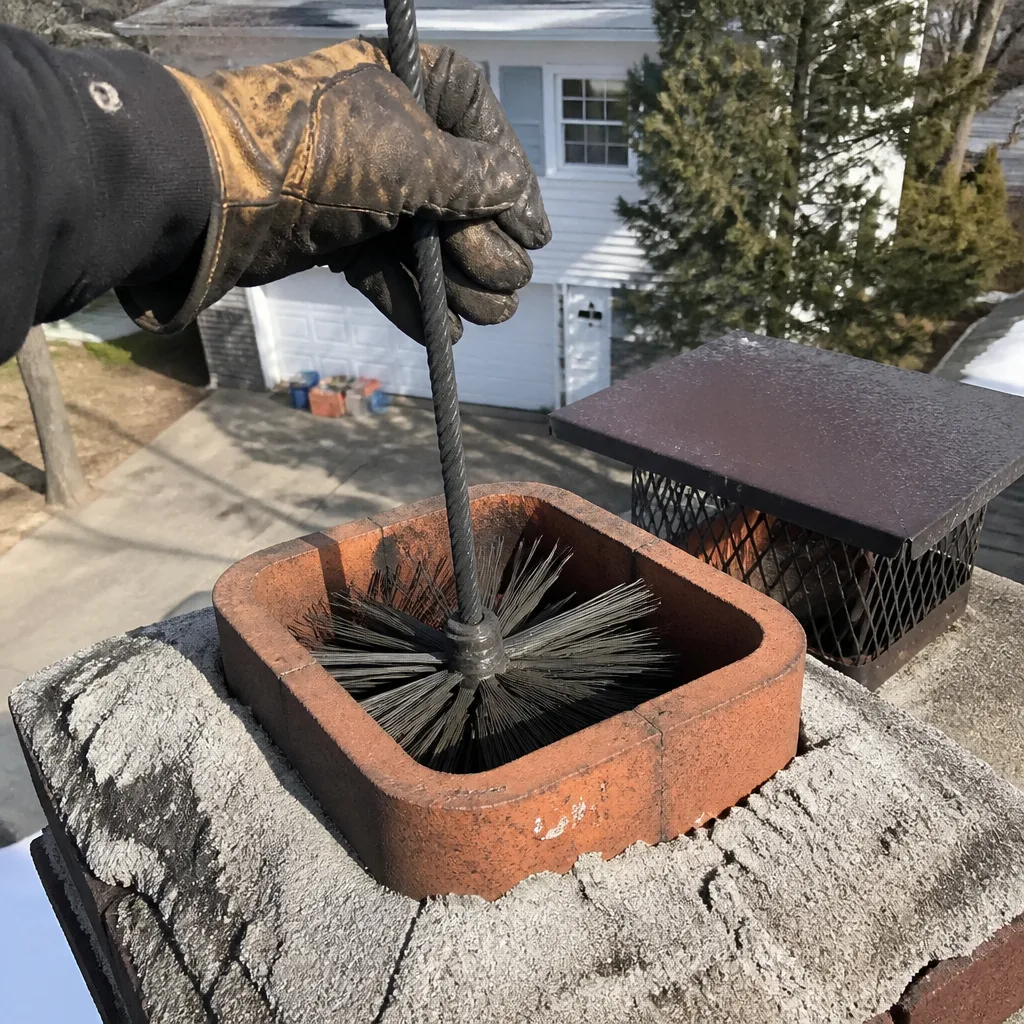
This is where most checklists fail. “Check for cracks” is meaningless without numbers. Here are the specific measurements that distinguish monitoring from action.
Creosote Buildup
| Stage | Appearance | Thickness Threshold | Action |
|---|---|---|---|
| Stage 1 | Sooty, powdery, matte black | Up to 1/8 inch | Standard sweep sufficient |
| Stage 2 | Shiny, hard, flakes in layers | Any thickness | Rotary sweeping; inspect for drafting issues |
| Stage 3 | Glazed, tar-like, brown-black | Any presence | Chemical treatment + rotary; do not burn until cleared |
Stage 3 creosote is the red-line condition. Its ignition temperature is roughly 450°F versus 1,000°F for Stage 1, and it burns at temperatures exceeding 2,000°F - hot enough to crack clay tiles and damage surrounding structure. If you see glazed, shiny black deposits in your firebox or visible flue, stop using the fireplace.
Flue Tile Cracks
- Vertical hairline crack under 1/16 inch, no offset: Monitor annually with camera documentation.
- Vertical crack 1/16 to 1/8 inch, no offset: Schedule Level 2 inspection with detailed measurement; likely repair or monitor depending on location.
- Any horizontal crack, or any crack with offset tile edges: Liner replacement required before next fire.
- Three or more cracked tiles in any flue section: Liner replacement required.
Crown Condition
- Hairline cracks under 1/16 inch, no spalling: Normal; seal with flexible crown coating (we use HeatShield or similar flexible sealants rated for freeze-thaw cycling).
- Cracks 1/16 to 1/8 inch: Seal and monitor; check annually.
- Cracks over 1/8 inch, or any crack that extends to the flue edge: Crown rebuild or replacement; water is reaching the interior structure.
- Spalling or deterioration deeper than 1/2 inch: Replacement required.
Efflorescence (Exterior Masonry)
- Isolated patches under 6 inches, dry to touch: Common; monitor.
- Multiple patches or continuous band covering 10-25% of visible surface: Indicates active moisture movement; inspect crown, cap, and flashing.
- Covering more than 25% of surface, or accompanied by spalling or mortar loss: Professional assessment required; likely needs repointing and water diversion improvements.
Cap Rust and Integrity
- Surface discoloration under 10% of cap area: Cosmetic; monitor.
- Rust coverage 10-25%, or any rust-through holes: Replacement within one season; holes allow direct water and animal entry.
- Rust over 25%, or cap separation from base: Immediate replacement; structural integrity compromised.
We source replacement caps through Copperfield and Gelco, selected for Worcester’s specific corrosion environment - the combination of road salt aerosol in winter and humidity in summer accelerates galvanized steel failure. Stainless steel or copper caps are the standard we recommend for longevity.
Mortar Joint Deterioration
Test with a flathead screwdriver in at least six joints around the visible exterior. Depth of penetration indicates:
- Under 1/4 inch: Sound mortar.
- 1/4 to 1/2 inch: Weathering; schedule repointing within 1-2 seasons.
- Over 1/2 inch, or joint material crumbles to powder: Repointing required; water intrusion risk is active.
Red-Line Items: When to Stop Using the Fireplace Immediately
Some conditions mean the next fire is the one that causes damage or injury. Do not operate the fireplace if you observe any of the following, regardless of how cold it is or how recently you had service.
- Visible flames or glowing material in walls, ceiling, or attic near the chimney. This is an active chimney fire or structure fire. Evacuate and call 911.
- Smoke entering the living space during normal operation. This indicates blocked flue, reversed draft, or structural failure. Carbon monoxide risk is immediate.
- Any horizontal crack in flue tile, or crack with offset edges. Combustion gases can enter wall cavities. The fire may appear normal while poisoning occupants or igniting framing.
- Stage 3 (glazed) creosote visible from below. Ignition risk is unacceptably high; chemical treatment and rotary removal required.
- Damper that will not fully open or close. A stuck-open damper wastes energy and creates backdraft risk; stuck-closed is an obvious fire and CO hazard.
- Strong gas odor (rotten egg/sulfur) when damper is closed. Indicates gas leak in fireplace system; do not operate any ignition source.
- Bricks or mortar falling into firebox from above. Structural failure of the flue or smoke chamber is in progress.
- Water actively dripping into firebox during rain. Indicates crown, cap, or flashing failure; water damage to structure is ongoing, and steam expansion during fire can accelerate damage.
If you encounter any red-line condition, close the damper if safely possible, extinguish any active fire with approved extinguisher (not water), and call for professional assessment before next use. Chimney Repair in Worcester addresses these conditions with emergency response when needed.
Documentation Checklist: What to Hold After Every Service
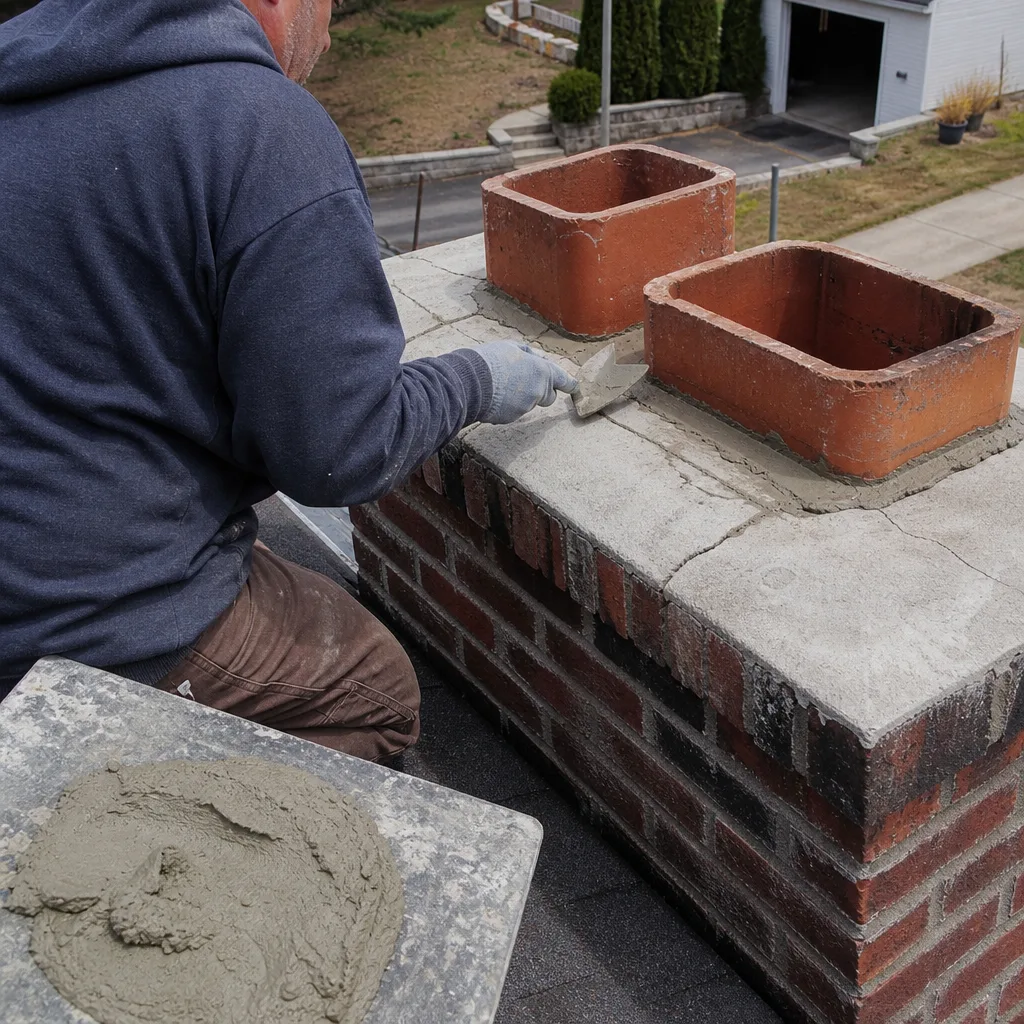
The homeowner who keeps complete records saves money and avoids repeat work. After every professional chimney service, you should receive and retain:
- Written scope of work - exactly what was done, what was inspected, and what condition was found. Not a generic “inspected chimney” checkbox.
- Written price for work performed - agreed before work started, with no post-completion additions. Haven Standard Clause 1 requires this; we won’t start without it.
- Photo or video record of flue interior - time-stamped, with annotated findings. Clause 4 of the Haven Standard mandates this documentation on every visit.
- Written condition assessment - specific measurements, locations, and recommended actions with timelines (“monitor annually” vs. “repair before next fire”).
- Written warranty for work performed - including duration and coverage specifics. Our 365-Day Done Right Promise covers every job.
- NFPA 211 inspection level performed - Level 1 (visual, no camera), Level 2 (camera scan, accessible areas), or Level 3 (destructive investigation, rare).
- Technician name and license information - for accountability and follow-up questions.
Keep these records with your home maintenance file. When you sell, buyers and insurers increasingly request documentation. When you call for follow-up service, reference the prior report number for continuity. We’ve returned to Worcester homes where prior documentation from 2012 let us compare crack progression precisely and recommend repair timing with confidence.
Common Mistakes to Avoid
- Assuming a clean firebox means a clean flue. The firebox is where you see; the flue is where the hazard builds. We’ve swept flues with 1/4 inch of Stage 2 creosote above fireboxes that looked spotless.
- Using the “chimney cleaning log” chemical products as a substitute for sweeping. These may reduce light Stage 1 buildup slightly. They do not remove Stage 2 or 3 creosote, and they create a false sense of security that delays proper service.
- Ignoring the mid-summer check because “we’re not using it.” Summer is when moisture damage progresses, animals nest, and vegetation invades. Problems that start in July become emergencies in October.
- Hiring based on lowest price without verifying inspection standard. A $99 “sweep and inspect” that uses a flashlight from the firebox is not comparable to an NFPA 211 Level 2 camera inspection. Ask specifically: “Do you put a camera up the flue, and do I get photos?”
- Deferring crown or cap repair because “it’s just the top.” The crown and cap are your chimney’s roof. Water entering through failed crown protection destroys liners, smoke chambers, and surrounding structure from the top down. Repair costs multiply by 5-10x when interior damage progresses.
- Burning unseasoned or “green” wood to save money. Wood with moisture content over 20% produces significantly more creosote. In Worcester’s humid summers, even properly split wood needs 12-18 months under cover to season. A moisture meter costs $20; use it.
- Neglecting to check CO detector function before first fire. Massachusetts law requires CO detectors on every habitable level, but the law doesn’t ensure yours works. Test with the test button, and replace units over 7 years old regardless of test response.
When to Call a Professional
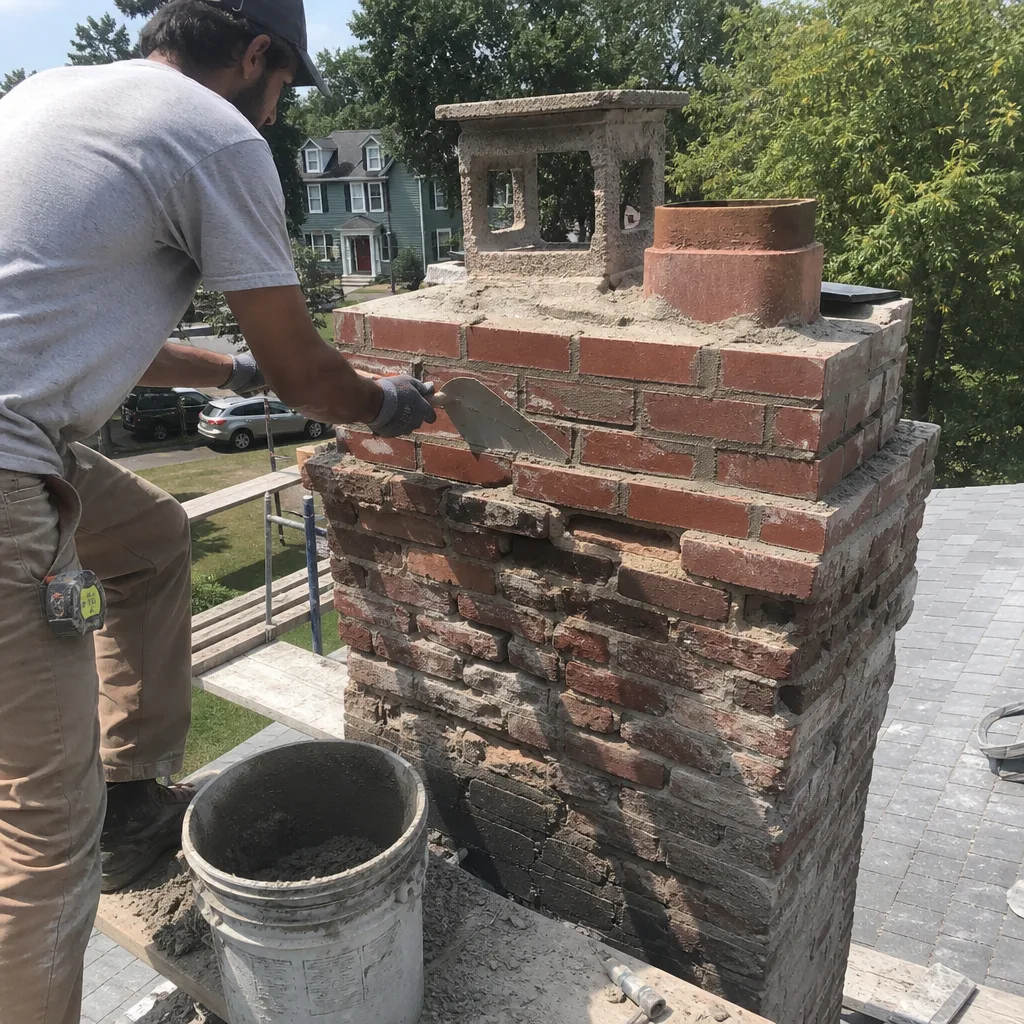
Call for professional assessment when any measurable threshold in this guide is exceeded, when you observe any red-line condition, or when it’s been more than 12 months since your last NFPA 211 Level 2 inspection. Worcester’s older housing stock, freeze-thaw severity, and high humidity create conditions that accelerate deterioration compared to national averages.
Level Two Chimney Worcester offers free estimates in Worcester - call (978) 307-8288. Every estimate includes a written price, written scope, and written warranty before any work begins. We also provide free second opinions on any competitor’s written estimate. Our technicians are background-checked, uniformed, and licensed, with text notification when en route. Live phone support is available 24 hours a day, 7 days a week.
Chimney Cleaning & Sweep in Worcester covers our full sweep and inspection process. For fireplace-specific services, see Fireplace Services in Worcester.
Frequently Asked Questions
A standard chimney sweep with NFPA 211 Level 2 camera inspection in Worcester typically ranges from $250 to $400 for a single flue system, depending on accessibility, creosote stage, and whether animal removal or debris clearing is needed. Multi-flue systems, insert removals, or severe Stage 3 creosote requiring chemical pretreatment run higher. We deliver a written price before any work starts - no exceptions, no post-completion additions. Call (978) 307-8288 for an exact quote; estimates are free.
The NFPA 211 standard requires annual inspection for all chimney systems, with sweeping frequency determined by use and fuel type. A wood-burning fireplace used as primary heat source in Worcester typically needs sweeping every cord of wood burned, or annually, whichever comes first. Occasional weekend use may extend to every 2-3 years if annual inspection shows minimal Stage 1 buildup. Oil and gas flues need annual inspection but often less frequent sweeping; the inspection determines need. We document creosote measurements each visit so you can track your actual burn rate rather than guessing.
You need a new liner when the existing one fails to contain combustion gases safely - specifically, when horizontal cracks exceed 1/8 inch, three or more tiles are cracked in one flue section, or the liner is unlined brick with eroded mortar joints. We never recommend liner replacement without camera documentation you can see for yourself. Some conditions can be repaired with HeatShield resurfacing or DuraFlex stainless steel relining rather than full replacement; the camera inspection determines which approach fits. If a competitor recommends replacement without showing you specific damage, bring us their written estimate for a free second opinion.
Skipped maintenance leads to progressive, expensive damage. Stage 1 creosote becomes Stage 3, requiring chemical treatment plus rotary sweeping instead of standard brushing. Minor crown cracks become major water intrusion, destroying liners and surrounding structure. Small mortar joint deterioration becomes brick loosening and potential chimney collapse. The most serious risk is chimney fire or carbon monoxide intrusion - both are preventable with scheduled service. In Worcester, we’ve documented chimneys that went from “sweep recommended” to “liner replacement required” in a single 18-month deferral due to our freeze-thaw cycling.
Homeowners can brush light Stage 1 creosote from the firebox and accessible smoke chamber with proper rods and brushes sized to the flue. You cannot safely assess flue liner condition, measure creosote stage accurately, or identify drafting problems without a camera system and training. For Worcester homes with steep roofs, two or more stories, or metal flue liners, DIY sweeping presents significant fall and equipment damage risk. We do not recommend homeowner flue brushing as a substitute for professional service; at best, it supplements annual professional inspection.
A Level 1 inspection is a visual examination of readily accessible portions of the chimney exterior, interior, and connections - appropriate for ongoing use of systems with no changes. A Level 2 inspection adds a camera scan of the flue interior, inspection of attics, crawl spaces, and basements where the chimney passes, and assessment after any change to the system or property sale. Level Two Chimney Worcester performs Level 2 as our default on every visit because flashlight-only inspection misses conditions that camera documentation reveals. Clause 4 of the Haven Standard requires this photo record on every job.
Worcester’s 1,000-foot elevation brings 15-20 more freeze-thaw cycles annually than Boston or Springfield, accelerating mortar and crown deterioration. Higher humidity, especially July through September, drives efflorescence and spalling in porous brick. Heavier snow load stresses caps and crowns, and road salt aerosol from plowed streets accelerates metal component corrosion. These factors mean Worcester chimneys often need more frequent exterior maintenance than identical construction in drier, warmer, or lower-elevation locations. Our inspection reports note Worcester-specific deterioration patterns we’ve tracked since 2009.
The Bottom Line
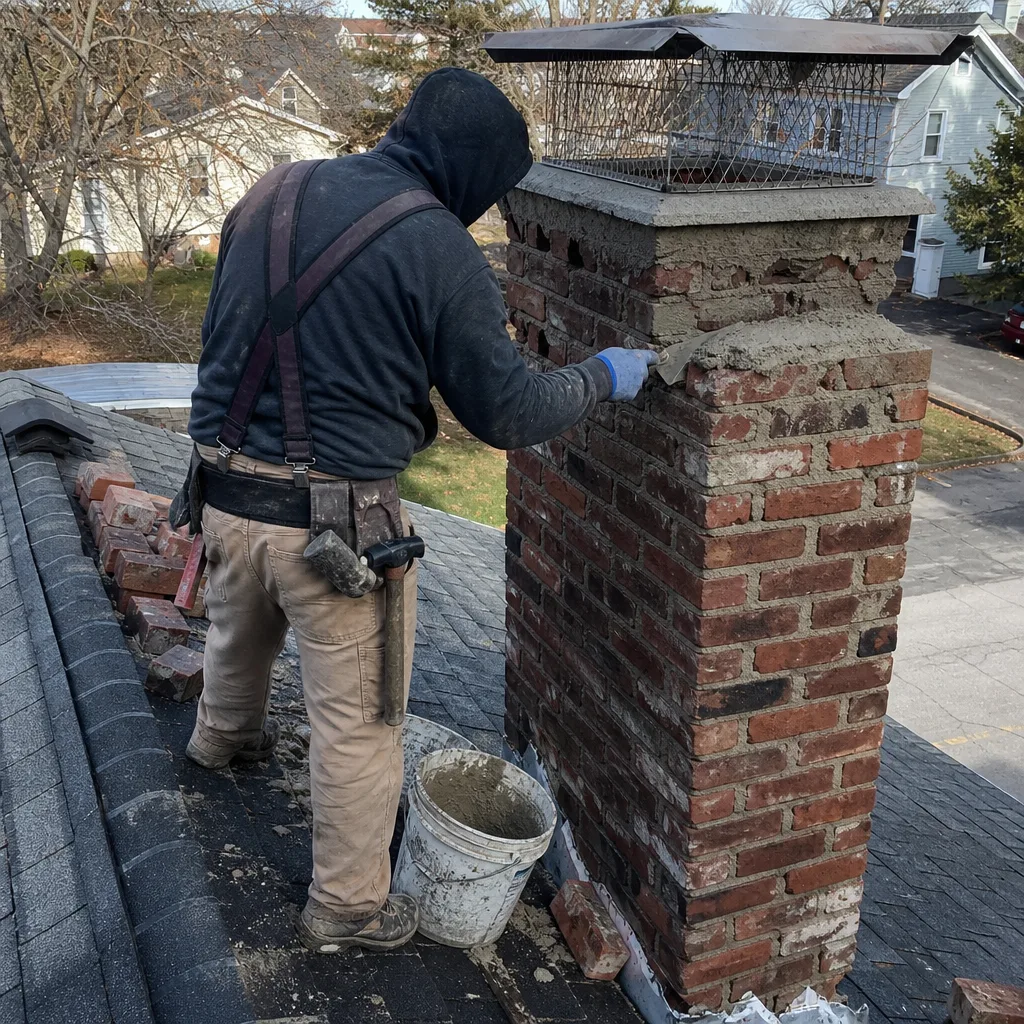
Effective chimney maintenance runs on numbers, not guesswork. Measure crack widths, creosote thickness, efflorescence coverage, and rust percentage. Check three times yearly against the thresholds in this guide. Keep complete documentation from every professional visit. Know the red-line conditions that mean immediate shutdown. Worcester’s climate demands this precision - our freeze-thaw cycles, humidity, and older housing stock create deterioration patterns that vague checklists miss until they’re expensive emergencies. The homeowners who avoid surprise liner replacements and chimney fires are the ones who look at specific measurements on specific schedules, and who hire professionals who document what they find with photos, written scope, and written price before any work begins.
Written by Corrine Halstead, Owner at Level Two Chimney Worcester, serving Worcester since 2009.